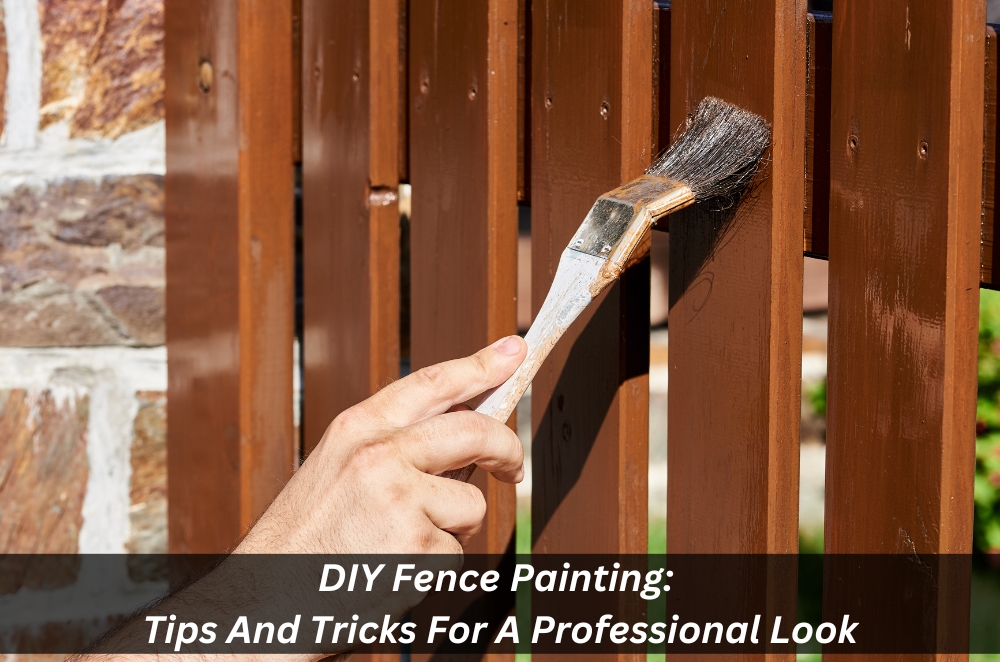
Fence painting can be a challenging task, especially if you’re aiming for a professional finish. Whether you’re using spray paint, a roller or tackling a picket fence, there are some tips and tricks that can make the job easier and ensure a flawless result.
DIY fence painting can save you a lot of money, but the key is to do it right. In this article, we’ll share some expert advice on how to achieve a professional look for your fence painting project, regardless of your level of experience.
Preparing for painting – tools and supplies needed
Before you start painting your fence, it is important to gather all the necessary tools and supplies. Some of the essential tools you will need include:
- Paint brushes
- Drop sheeting
- Sandpaper
- Paint sprayer (optional)
If you are painting metal fences, you may also need to use a high-pressure washer to remove any rust or debris that may be on the surface.
Cleaning the Fence – The importance of a clean surface
The first step in preparing your fence for painting is to clean the surface thoroughly. Use a pressure washer or hose to remove any oil-based wood stain, dirt or debris from the fence. For wooden fences, use a brush to remove any loose or flaking paint and sand the surface to create a smooth and even base for the new coat of paint. For metal fences, use a wire brush to remove any rust or flaking paint and then sand the surface to create a smooth and even base.
Sanding and Repairing Any Damage
If your fence has any damage, such as cracks or holes, it is important to repair them before painting. Use wood filler or putty to fill any cracks or holes in wooden fences, and sand the surface to create an even texture. For metal fences, use a primer to seal any rusted areas before painting.
Choosing the Right Fence Paint and Primer
When choosing the paint and primer for your fence, consider the type of fence you have and the weather conditions in your area. For wooden fences, use an oil-based paint or stain that is specifically designed for exterior wood. For metal fences, use a primer that is designed for metal surfaces, followed by an oil-based paint.
Techniques for a Professional Fence Painting Finish
To achieve a professional-looking paint job, use a paintbrush to cut in along the edges of the fencing panels first, and then use a roller to apply the paint to the rest of the surface. For wooden fences, follow the wood grain to achieve a smooth and even finish. For metal fences, use a spray gun to apply the paint evenly and avoid drips and runs.
Dealing with Common Painting Problems
If you experience any drips or runs while painting, use a brush to remove the excess paint and smooth out the surface. To avoid uneven coverage, make sure to apply the paint in thin and even coats, allowing each coat to dry completely before applying the next one.
Maintaining Your Painted Fence
To keep your painted fence looking great for years to come, it is important to maintain it properly. Make sure to clean the surface regularly and touch up any cracks or chips in the paint as soon as they appear. Additionally, consider adding a clear coat of paint or stain to protect your fence from the elements.
Painting your fence can be a rewarding DIY project that can improve the look and value of your home. By following these tips and tricks, you can achieve a professional-looking paint job that will last for years to come. Remember to take your time, choose the right tools and supplies, and maintain your fence properly to keep it looking great.